
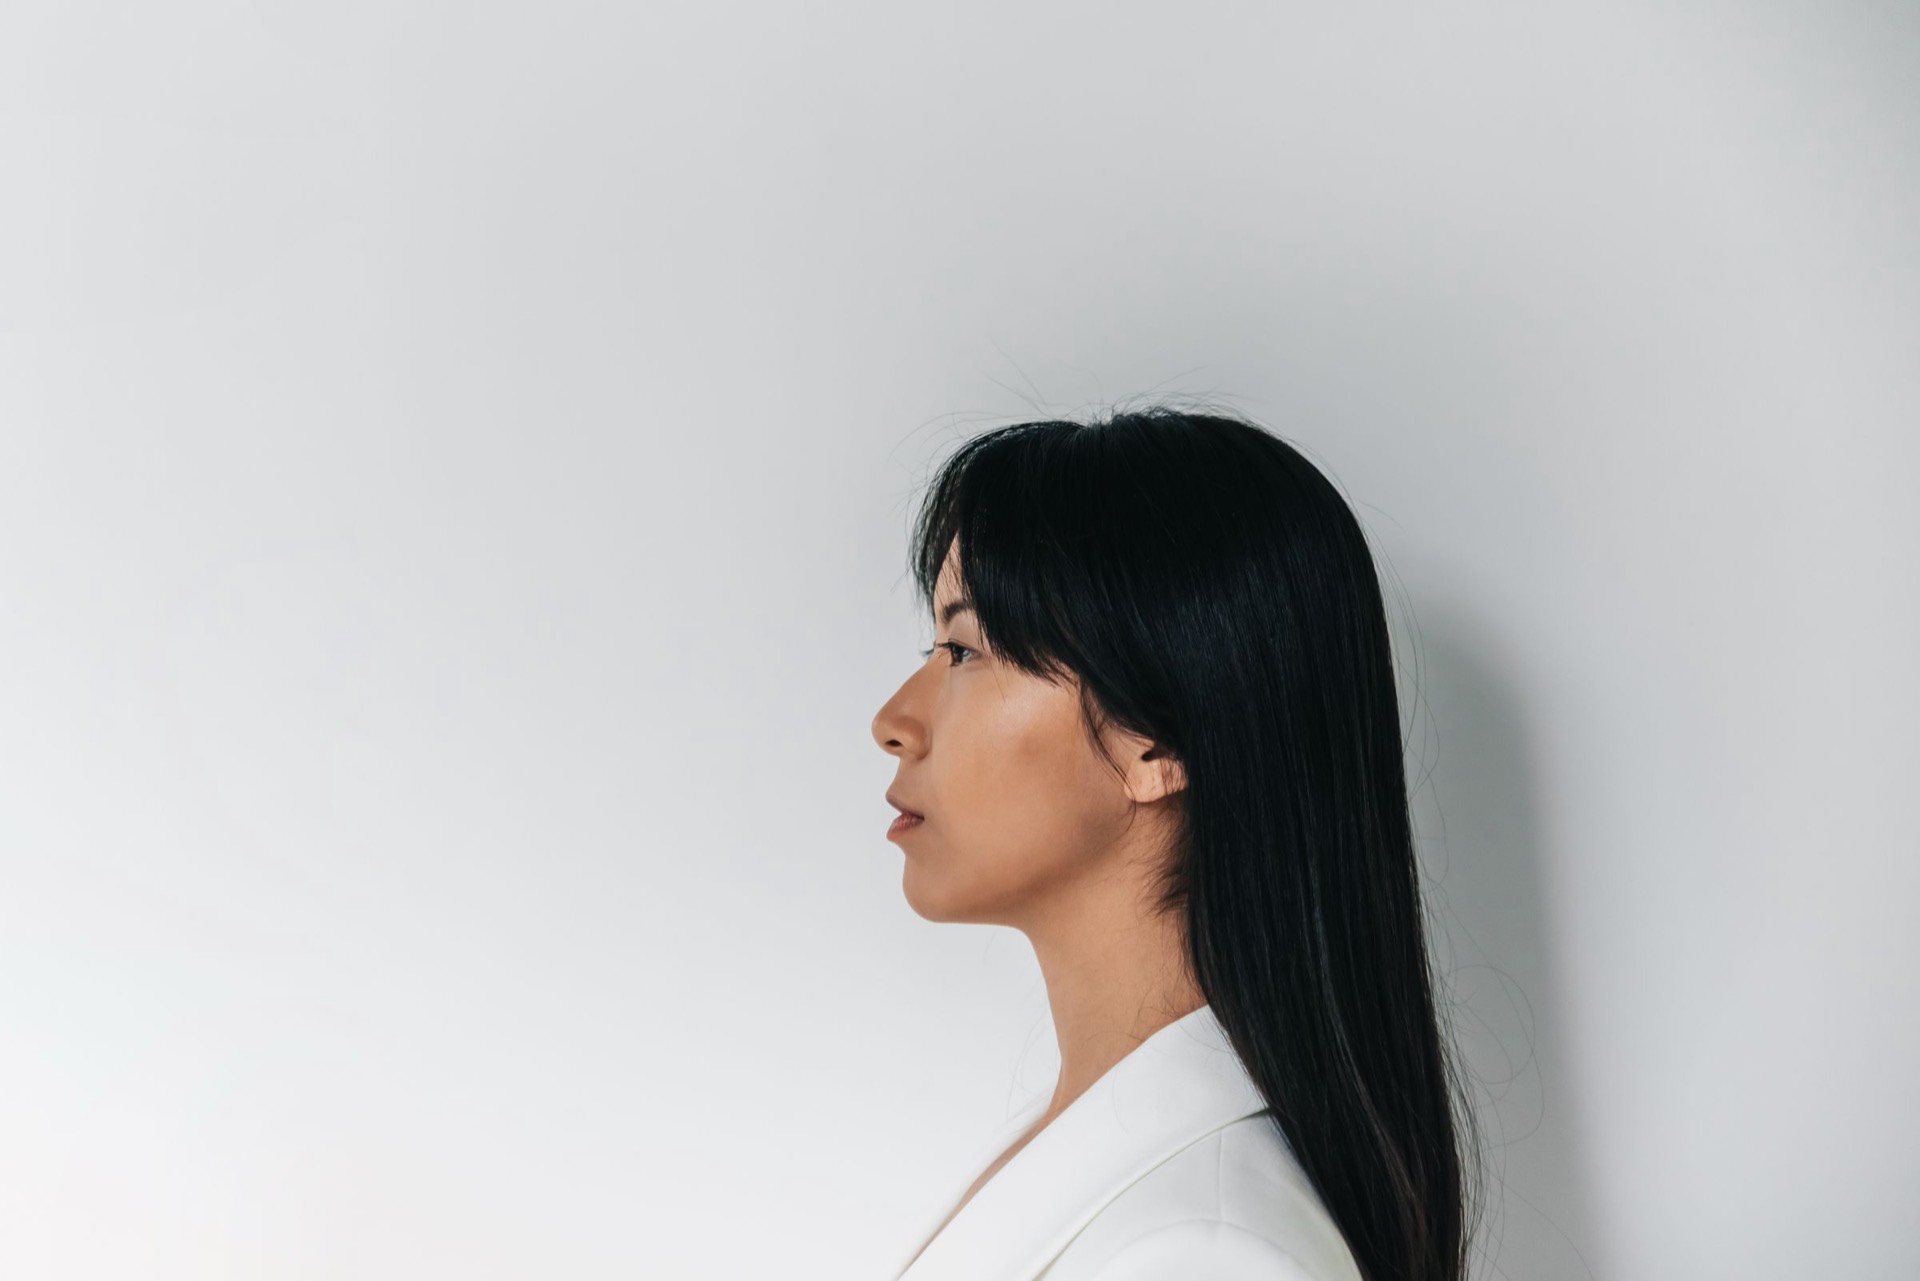
- 1Seat the client on the stool, on its floor marks. They sit upright, back away from the backrest, feet flat on the floor. A slouch changes the neck and the jawline.
- 2Prepare the face: hair back, glasses and facial jewellery off, cape on. If a client wears a headscarf or other covering for religious or cultural reasons, agree how the treated area will be shown. Record what you agreed, and do it the same way at every visit.
- 3Check the camera. It sits on its marks, with the lens level with the area you are photographing, not tilted up or down.
- 4Align the head. The vertical gridline runs down the middle of the face, both ears show equally, the eyes are level, and the Frankfort plane is level when you check from the side. If the client tends to tilt their head, guide the head. Never tilt the camera to compensate.
- 5Give the expression instruction and wait a breath for the face to settle.
- 6Compare the live image with the previous frontal on screen. You are looking for the same framing, the same tilt and the same expression.
- 7Take the image. Zoom in to check that the eyes are sharp before you move on to the next view.
The rest of this lesson
Standard views and positioning
- The standard facial views
- Naming the views
- Obliques, profiles and close-ups
- Choosing the set for the treatment
- Expression
- Body views
- Positioning
- Common positioning mistakes
- When to photograph
About 15 minutes to read in full, with a knowledge check at the end.
In the full course
5 lessons, about 41 minutes of reading, 14 pictures and diagrams
A knowledge check after every lesson (30 questions, each answer explained) and a 24-question final assessment. Pass it with every lesson complete and your certificate is issued the same moment, with a QR code anyone can verify. Every future update to the course is included.
- The CPD Group Approved Provider #779331
- 14 days to cancel until you start the course
- A real person replies within 48 hours